🧠 How to add a LemonSqueezy checkout overlay to any Carrd site
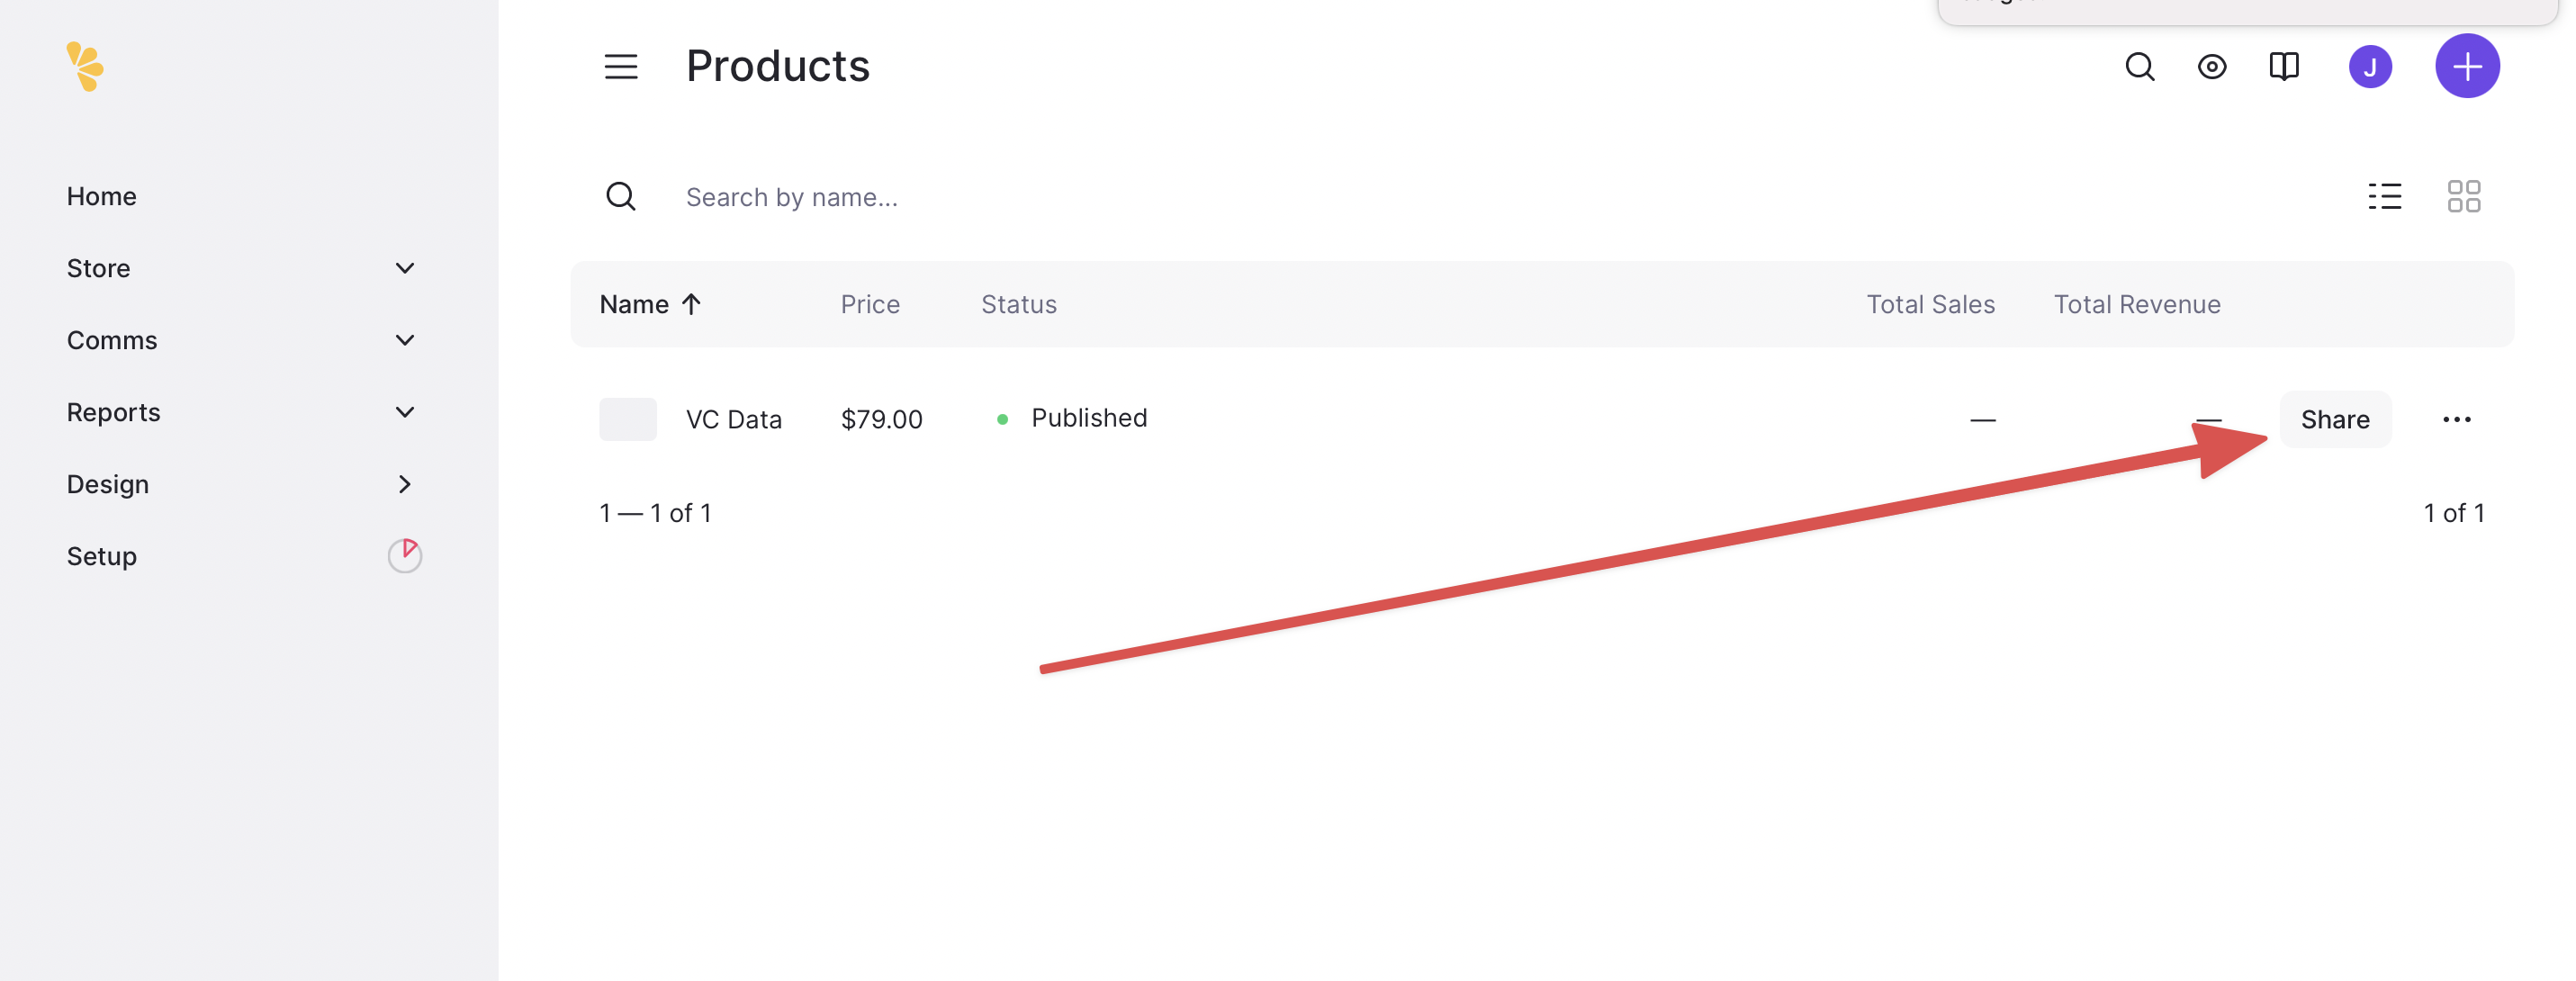
First we need the LemonSqueezy overlay code. We can find it by clicking on “Share” next to our product’s name.
Then we click on “Checkout Overlay”.
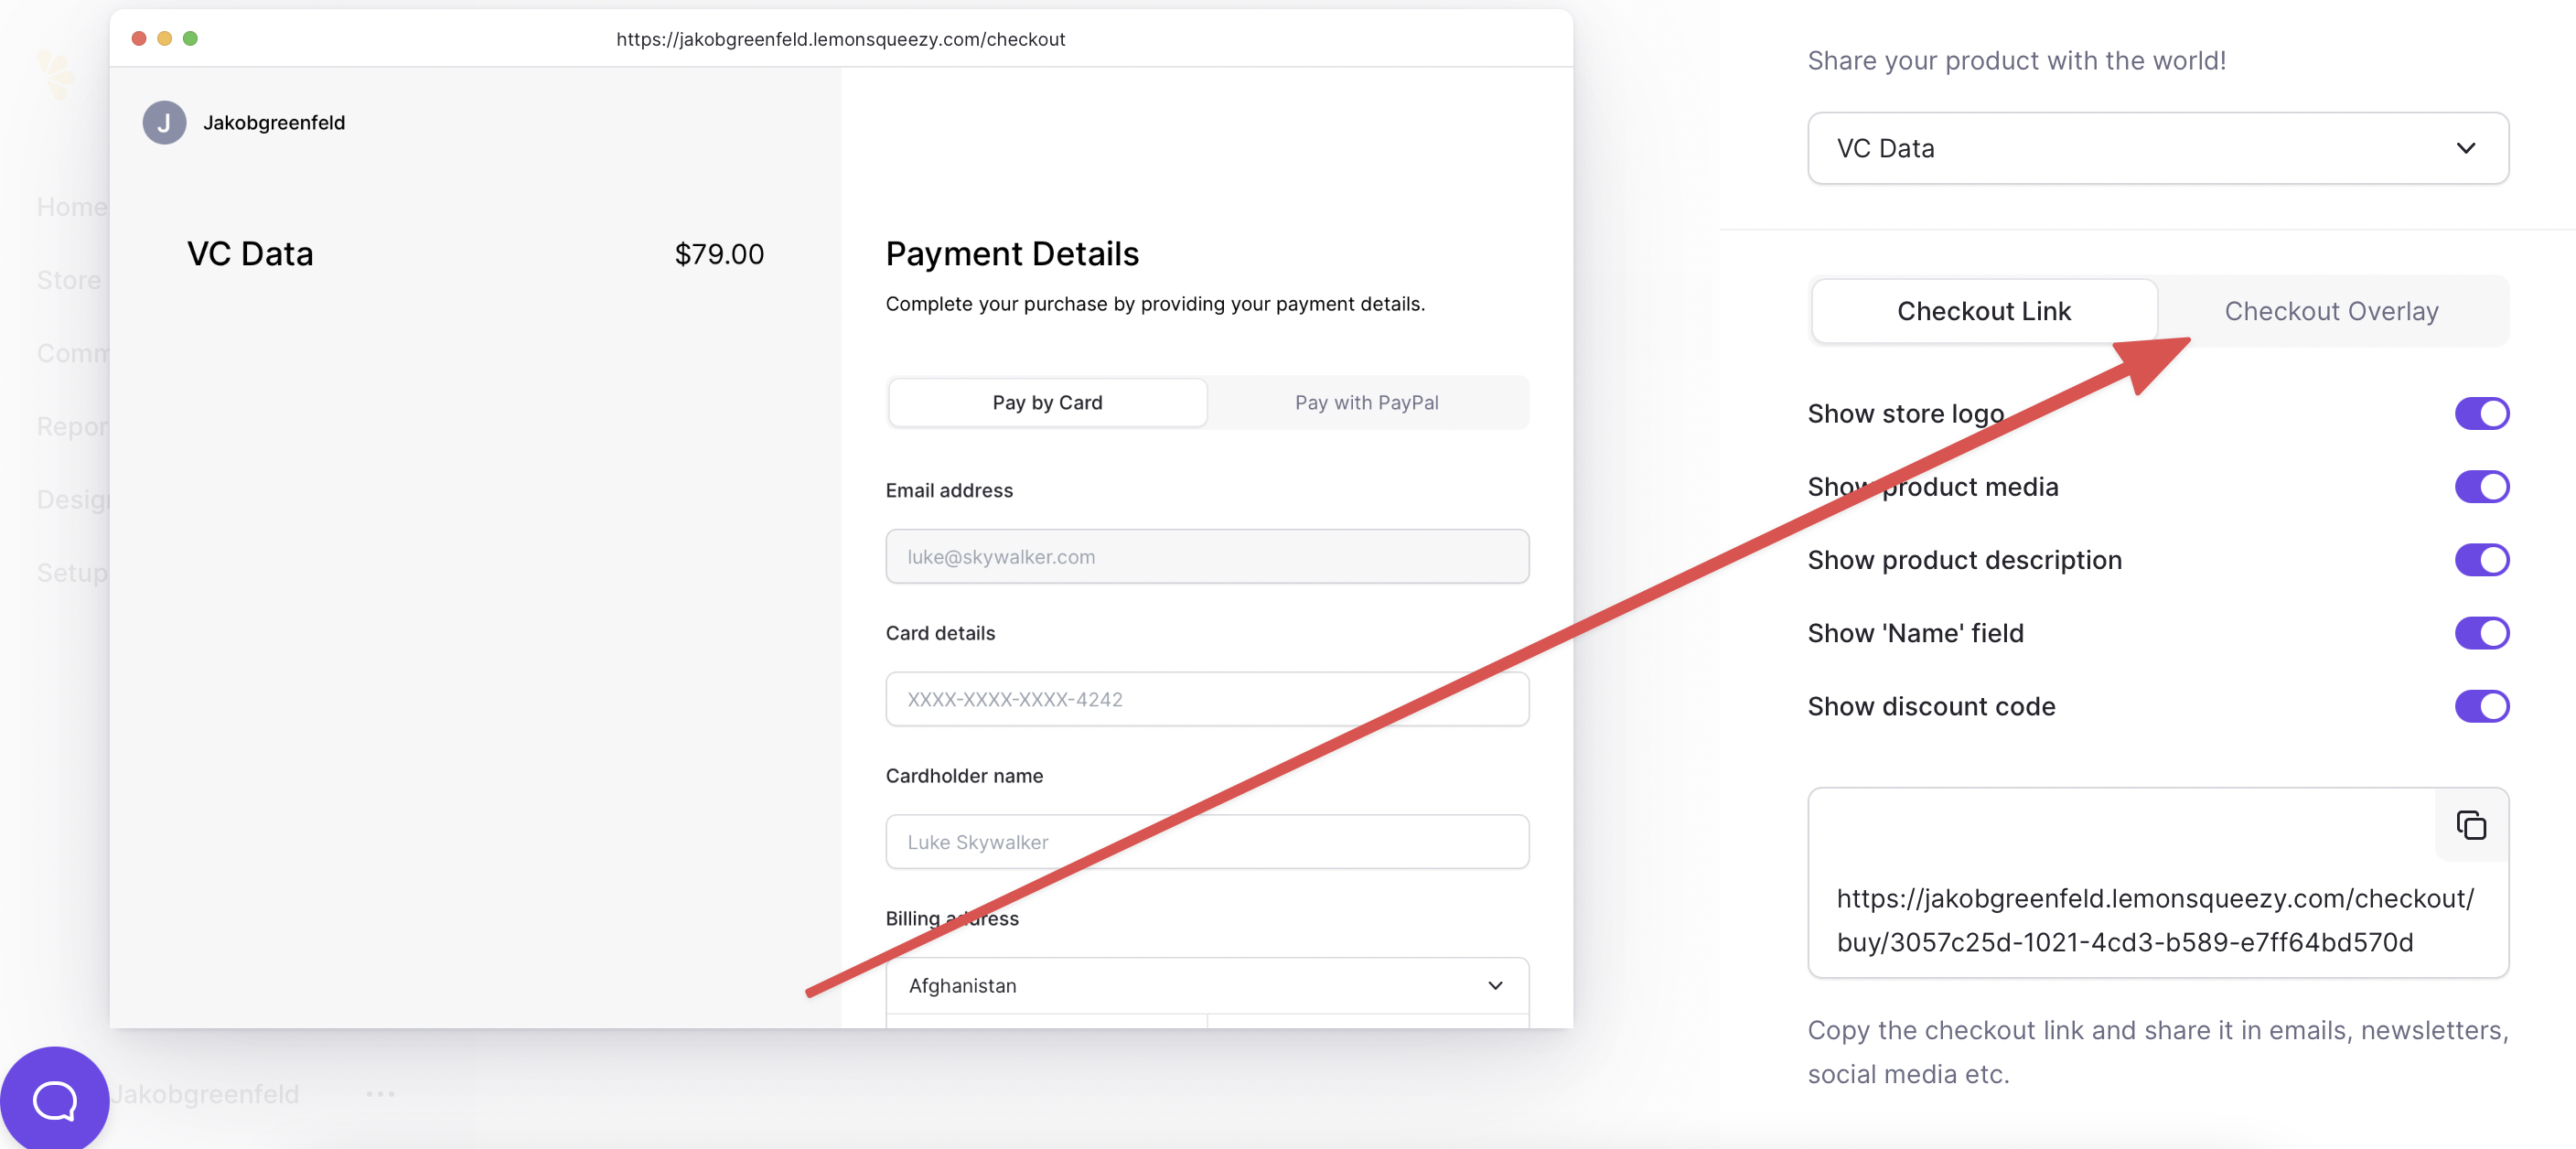
And now we simply copy the code.

Now we can head over to Carrd.
First we create a button and add the URL (look for href=”THIS_IS_THE_URL”) from the LemonSqueezy Overlay code to it.

Now we just need some JavaScript to make sure the nice overlay opens when someone clicks the button. (Otherwise people will be redirected to a payment page.)
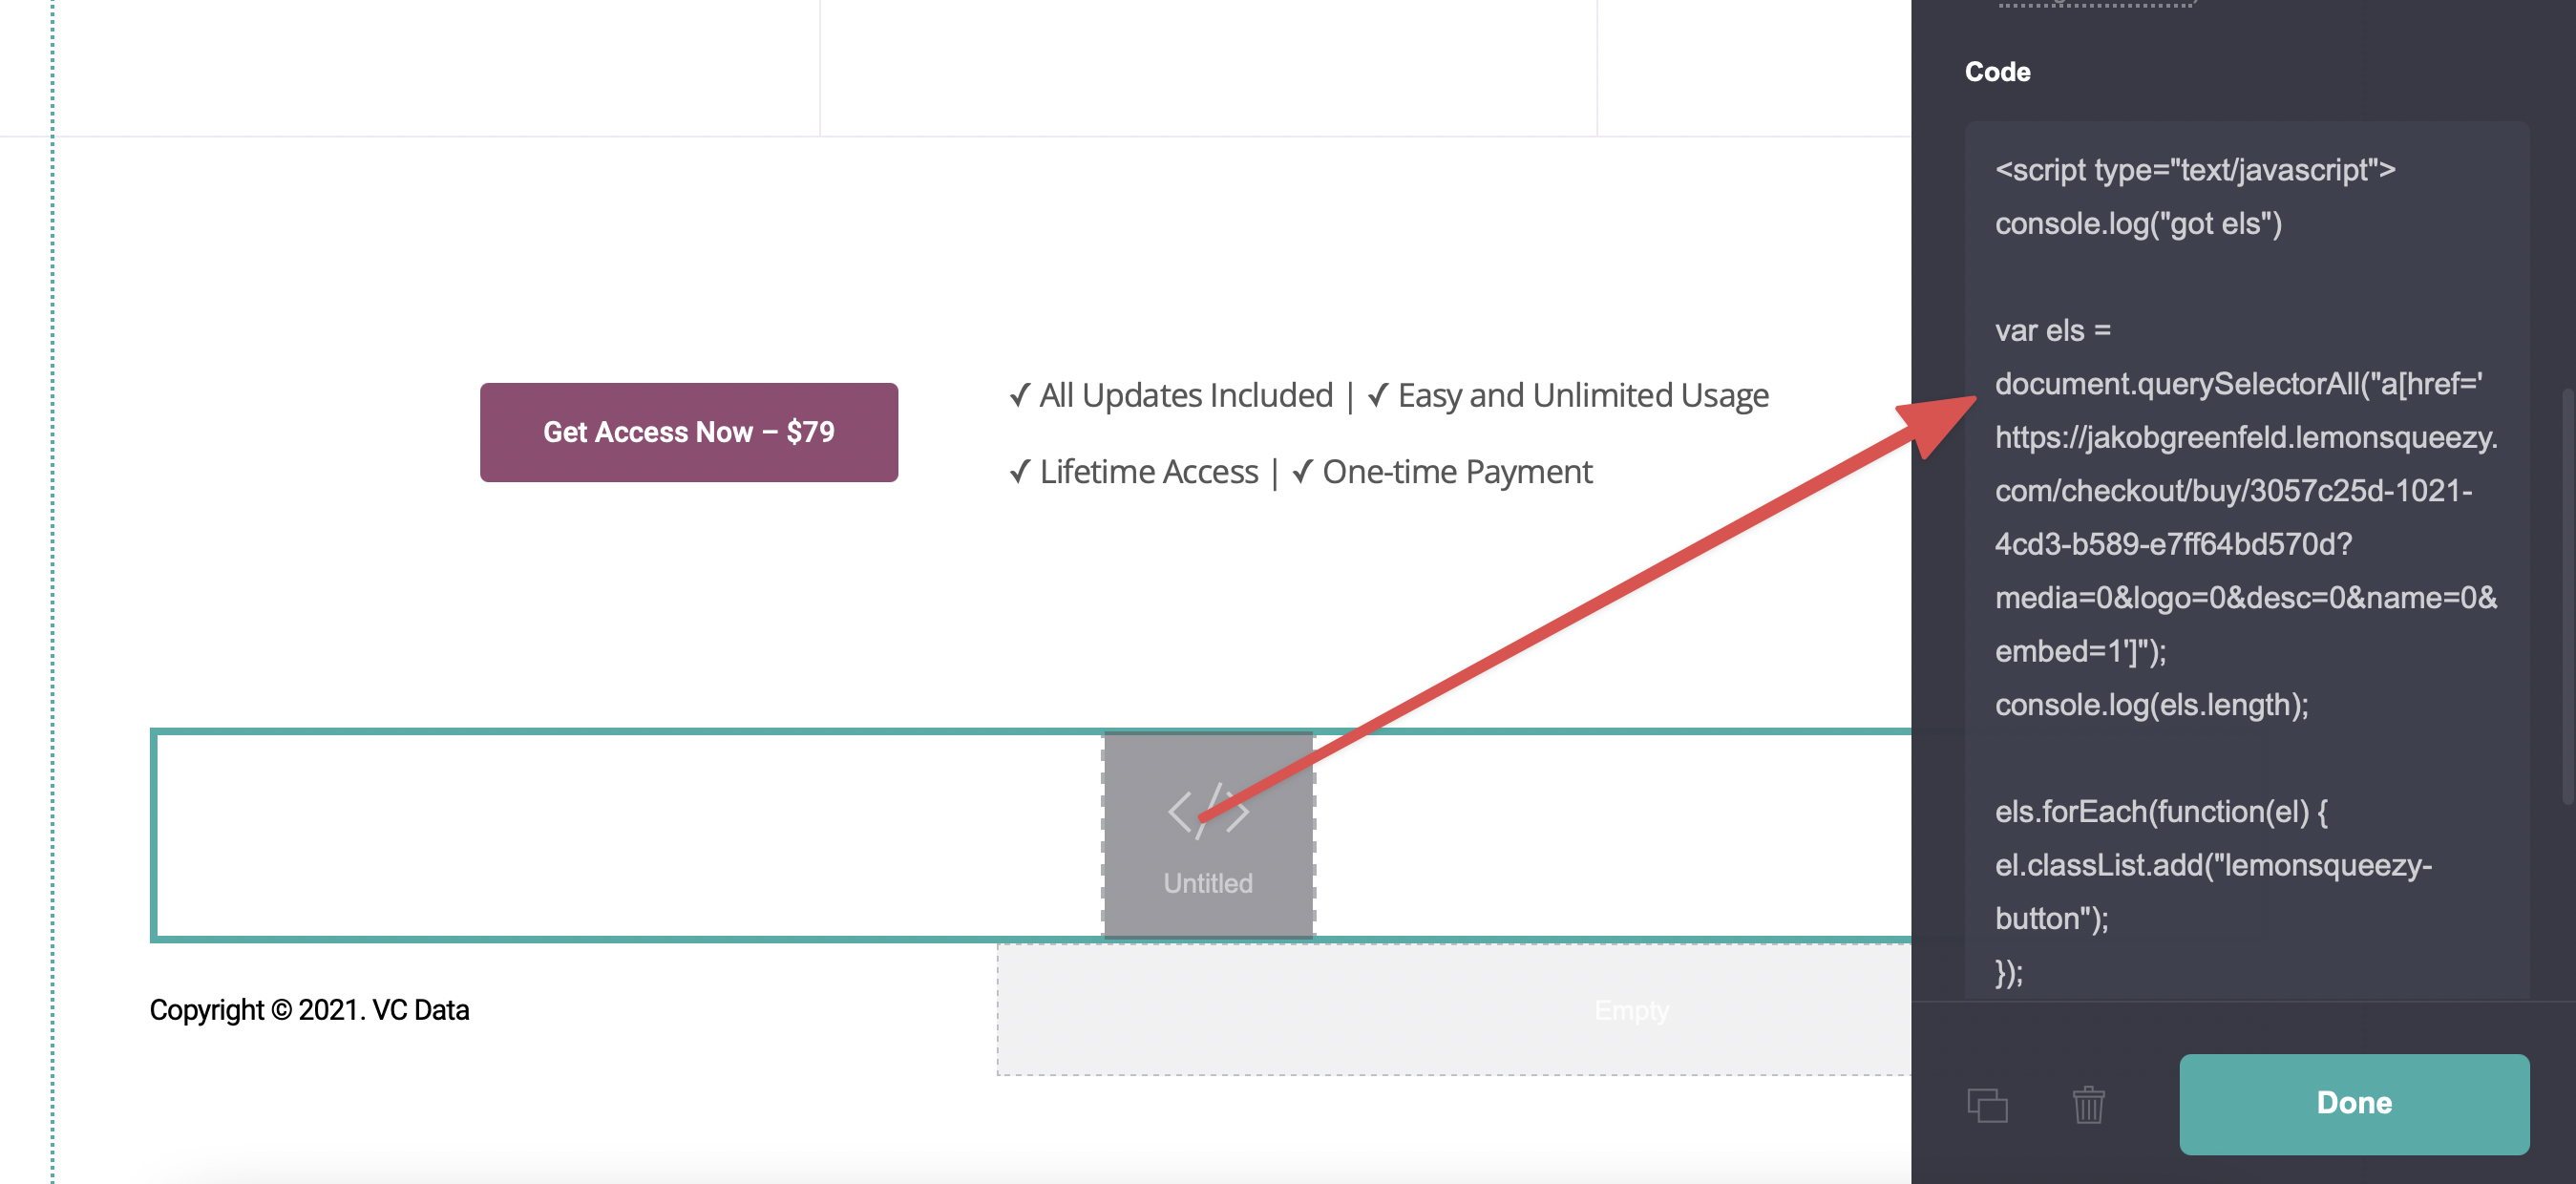
Hence we add an “Embed” element in Carrd and add the following code.
<script type="text/javascript">
var els = document.querySelectorAll("a[href='https://jakobgreenfeld.lemonsqueezy.com/checkout/buy/3057c25d-1021-4cd3-b589-e7ff64bd570d?media=0&logo=0&desc=0&name=0&embed=1']");
els.forEach(function(el) {
el.classList.add("lemonsqueezy-button");
});
</script>

<script src="https://app.lemonsqueezy.com/js/checkout.js" defer></script>
This code adds the required LemonSqueezy library that is responsible for the overlay and also adds the class “lemonsqueezy-button” to all link elements that point to LemonSqueezy. This is necessary because otherwise the LemonSqueezy library cannot succesfully interact with these links. Also we have to add the class like this because, as far as I know, you can’t add classes to links directly in Carrd. If you just add the “lemonsqueezy-button” to the button element it won’t work. The class must be attached to the link element itself.
Of course, to make the code work on your site, you have to replace your LemonSqueezy url with your own link.
PS: If you're interested in following my journey, sign up below: