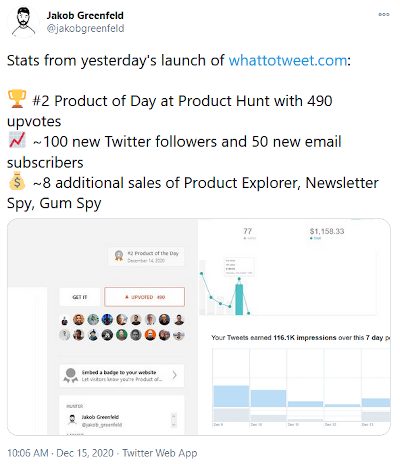
⭐️ How I created a #2 Product of the Day in 90 minutes
I know, the headline would be much better if it said Product of the Day. But while What to Tweet was at the #1 spot on Product Hunt almost all day long, it was eventually pushed to the second spot near the end of the day when Almanack got hundreds of additional upvotes, while my project only gained upvotes at a steady rate.
Anyway, the second place and 490+ upvotes for a product I created in around 90 minutes is still a pretty good outcome. (I didn’t track the time so this is really a rough guess. But all steps outlined below can certainly be done in less than 90 minutes.)
I certainly didn’t expect that it would do so well. It seems a bit unfair. There are many examples of makers working months on their project who get almost no attention.
And what did I do? I created a simple tool that shows Tweet prompts randomly. That’s it. It’s really as simple as it sounds. In fact, I was afraid that people would mock me for posting something so incredibly basic.
What are the takeaways here?
- If you create something that you personally use regularly, chances are high that others find it useful too even if it’s simple.
- Product Hunt is not a fair competition in the sense that it doesn’t reward effort.
- Side-project marketing works. You can get a lot of attention with very simple tools. The launch helped me build my personal brand and generated a few sales of my completely unrelated products. And this happened even though I included no ads, only a tiny “made by” badge in the lower-right corner. Now imagine if I were the creator of a Twitter tool like Hypefury or Ilo…
The key question now is: what’s an effective way to create simple tools like What to Tweet? This is probably the topic you’re really here for.
The Architecture
For What to Tweet I used a stack I never used before. But it’s an incredibly simple and versatile approach that I’ll definitely use in many future projects.
The key elements are:
- Airtable as the backend.
- A static Tailwind CSS frontend hosted on Vercel.
- Some Javascript that connects the backend and the frontend.
Let’s start by talking about the backend, then the frontend, and finally about how they are connected.
The Content and the Backend
I started by collecting Tweet prompts like the ones proposed by Josh Spector in an Airtable. Then I tried to find at least one tweet that could result from a given prompt by using operators like “min_faves:20” on Twitter.
I made a screenshot when I found a fitting tweet, using the standard Windows snipping tool (WIN + Shift + S). In my Airtable, I created a new “Attachment” column and pasted the screenshots.
The process for pasting images in an Airtable is still a bit awkward. You have to open the corresponding “Attachment” field, click somewhere into the opening popup, and then you can past the image using CTRL + V.
Additionally, I created an URL column and added the Tweet URL for each example.
You can see the Airtable that’s behind What to Tweet here. (The Airtable includes a few additional examples that I’m currently not using.)
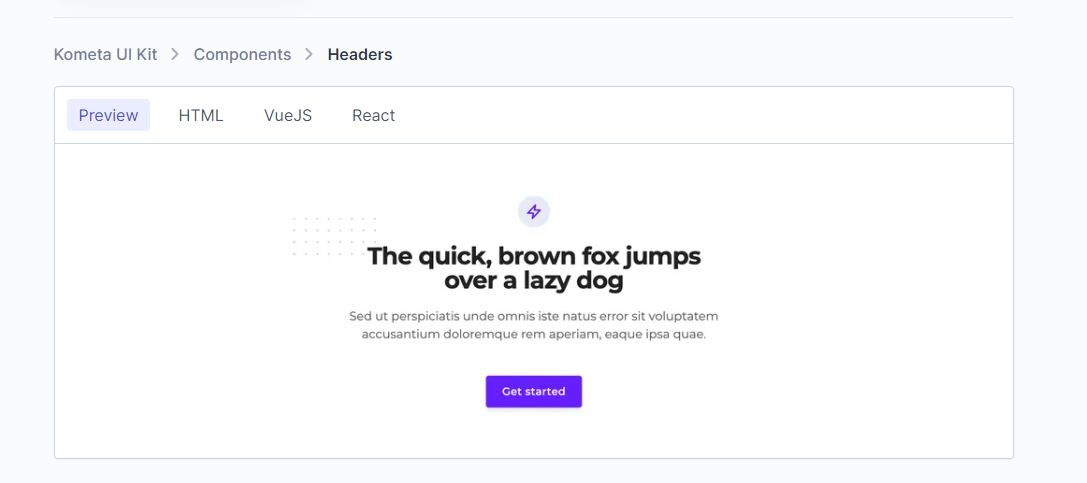
The Frontend
My favorite resource when I start a new project is this site. It’s a free collection of amazing Tailwind CSS components. I copied their first header component into a barebone HTML template and added the line
<link href="https://unpkg.com/tailwindcss@^1.0/dist/tailwind.min.css" rel="stylesheet">
to make sure that the Tailwind components show correctly.
 }
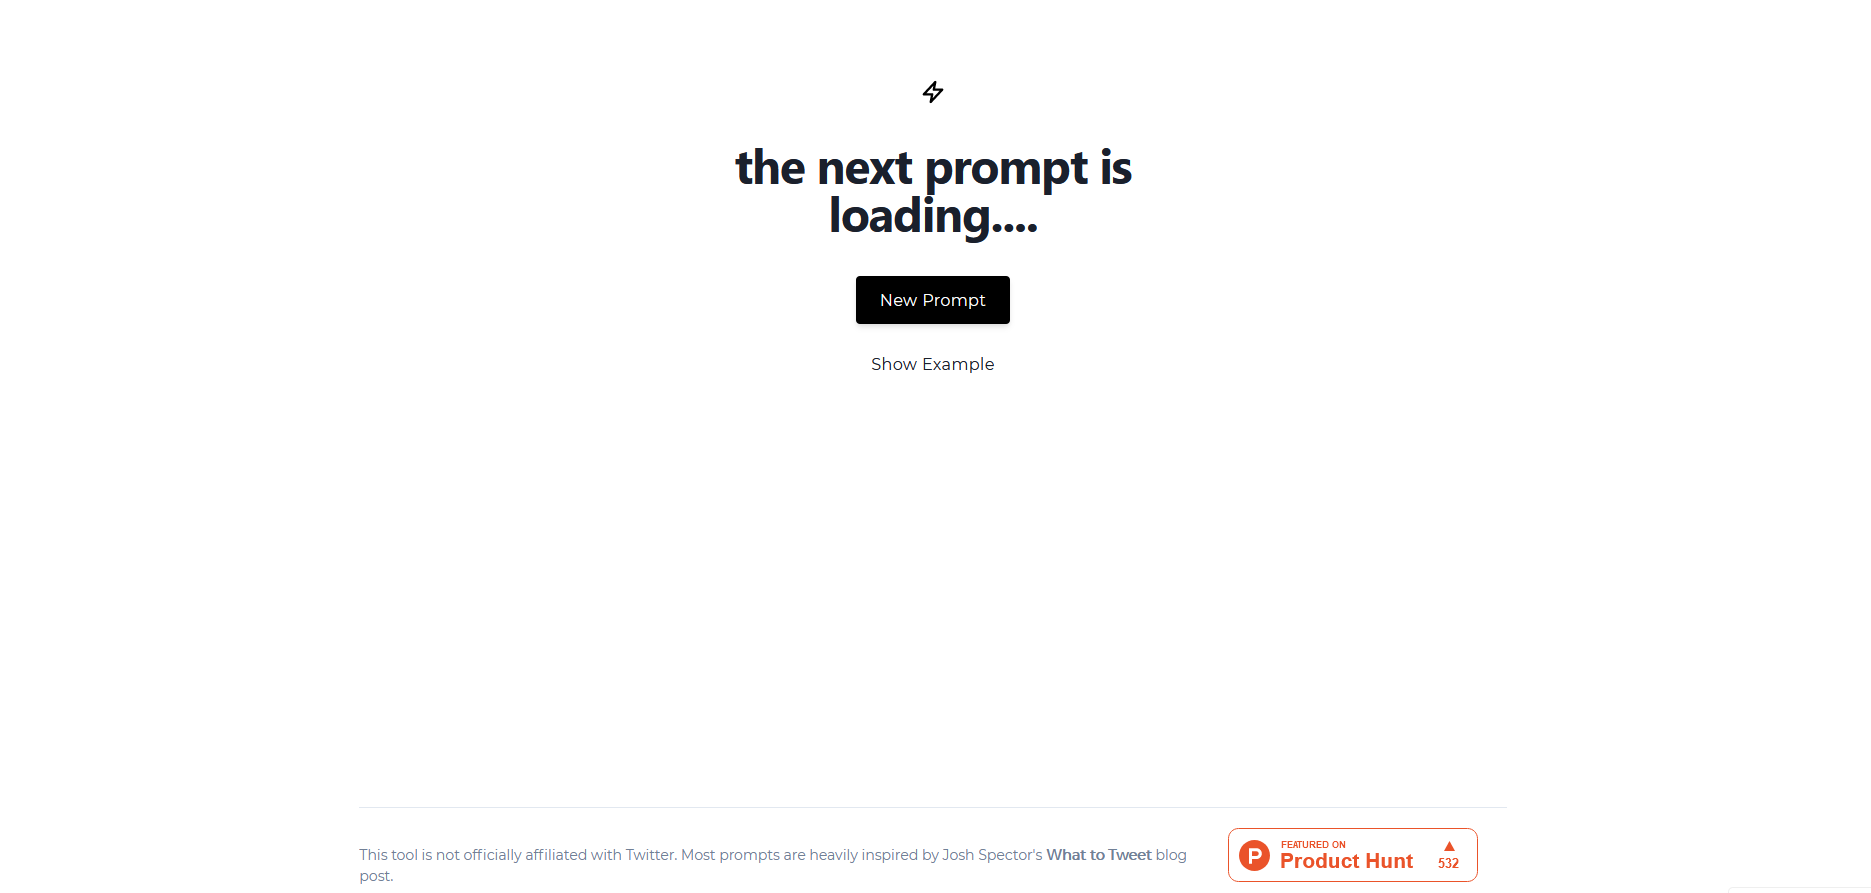
}I modified the header component a little bit by removing the distracting background graphic and by adding a second button that can be used to toggle the examples. Moreover, I added a div that includes the Tweet images.
Additionally, I added a simple footer component from the same resource.
This what my final design looks like.
 }
}If you’ve never used Tailwind I can highly recommend it. It’s super simple and the main benefit for me is that it’s so easy to copy and modify pre-made components. But of course, the general approach works with any CSS framework, not just Tailwind.
Now comes the most interesting part: How can we show the information we saved in our Airtable on the frontend.
Connecting the Frontend with the Backend using the Airtable API
Airtable has an awesome API. However, the intended use-case is in the context of a proper backend. This means the API is optimized for projects that make calls to the Airtable API from a Node.js, Python, etc. backend.
But I don’t want to use an additional backend. This would require that I set up a server and create a custom API using something like Flask that basically just calls the Airtable API. The idea behind this approach is that we create an additional layer of security by using the custom API as the mediator between the frontend and Airtable.
While this certainly makes sense for many use cases, it seems like a total overkill for my modest project. I just want to show the information I saved in the Airtable in my frontend. There’s no need for more complicated operations that require an advanced authorization system.
And in fact, we can simply call the Airtable API from the frontend. A problem with this approach is that it exposes our API key to all visitors. This is bad because anyone with our API key has the same rights over the database that we have.
Luckily, there’s a workaround. We can create a new Airtable account and grant it read-only access to our database. If we then use this user’s API key, no harm can be done.
This sounds a bit awkward but it really only takes about two minutes to set up. Oh and this is not some weird hack I came up with. It’s the official approach recommended by Airtable. If you follow the steps in this article, you should be good to go.
With that out of the way, we only need to write a bit of Javascript that makes calls to the Airtable API.
For What to Tweet, I decided that it makes sense to pull in all the information stored in the Airtable at once. The Airtable is not very large and there is a 5 calls/second rate limit for the Airtable API.
This is the code I used to load the data from the Airtable:
async function callingFn() {
      try {
          const response = await fetch("https://api.airtable.com/v0/TABLE_IDENTIFIER/Table%201?api_key=YOUR_READ_ONLY_USER_API_KEY", {
              method: "get",
              headers: {
                  "Content-Type": "application/json"
              }
          });
          const json = await response.json();
          return json["records"]
      } catch (error) {
          console.error("Error:", error);
      }
  }
When you’re logged in as read-only account, visit https://airtable.com/api, and then click on the corresponding Airtable, you’ll see lots of boilerplate code that you can use for different use-cases. In my case, I only needed to copy the table identifier from this page, which is shown, for example, in the Environment section. (The string that starts with “app”.)
Moreover, you need your API key which you can generate by following the steps here. (Again, make sure to use the API key of your read-only user, not of your main account.)
Once we’ve successfully loaded the data, it’s stored in a JSON object and you can do with it whatever you want. For What to Tweet, I wrote a function that picks a random element from a list.
get_random = function (list) {
  return list[Math.floor((Math.random()*list.length))];}
Then I made sure that this function is called when the page is loaded and when someone clicks on the “New Prompt” button.
(async () => {

    /* call the function that loads data from Airtable and save it in variable called res */
    var res = await callingFn();

	/* define a new function that loads a new random prompt into the corresponding HTML elements */
    async function fetch_new_prompt(results) {

    /* pick HTML element with id="idea1". This is the element that shows the prompt */
    const idea1 = document.getElementById('idea1');

	/* pick random element from the list results. Below, we call the function we define here with res as the argument which is the variable that contains the Airtable data. */
    const picked_prompt = get_random(results);

	/* change the text inside the element we picked above to the new prompt */
    idea1.innerHTML = picked_prompt["fields"]["Prompt"];

    /* change the tweet image and tweet source link elements analogously */
    document.getElementById("tweetimage").src = picked_prompt["fields"]["Example 1"][0]["url"];
    document.getElementById("tweetsource").href = picked_prompt["fields"]["Example 1 Link"];
    }


	/* We call this function and feed it the data we loaded from Airtable in the previous step as soon as the website is loaded.*/
    $(document).ready(function(){fetch_new_prompt(res)});

	/* We also call this function when the element with id=newprompt gets clicked. */
    $(document).ready(function(){
      $('#newprompt').click(function(){
         fetch_new_prompt(res);
      });
    });

	/* We also call this function when someone presses the space bar. */
    document.body.onkeyup = function(e){
      if(e.keyCode == 32 || e.key === ' '){
          fetch_new_prompt(res);
      }
    }
  })()
Lastly, I added another small function that shows/hides the examples when the corresponding button is clicked.
function showhide() {

/* pick the HTML element with id="tweetsource". This is the div that contains the tweet image */
  var aelement = document.getElementById("tweetsource");

 /* show the element when it's hidden, hide it when it's shown.*/
  aelement.classList.toggle('hidden');

/* change the text on button from "Show Example" to "Hide Example" and vice versa */
  var examplebutton =  document.getElementById("examplebutton");
  if (examplebutton.innerHTML == "Hide Example") {
      examplebutton.innerHTML = "Show Example";
  } else {
      examplebutton.innerHTML = "Hide Example";
  }

}
To make sure that this function gets called, I added the onclick=”showhide();” property to the Show Examples button:
<a
	href="#" id="examplebutton" onclick="showhide();"
	class="inline-flex items-center justify-center h-12 px-6 font-medium tracking-wide text-gray-900    focus:outline-none"
>
	Show Example
</a>
That’s it. I’m probably the last person who should be giving Javascript lessons as I only know the bare minimum to build anything. But as you can see, this is all we need here to build something useful.
Hosting
Once we’ve created our little site and tested that it works locally, we have to upload it to somewhere. Since we’re dealing just with a static HTML page, we can use Vercel’s free tier to host the site. (Netlify works equally well!)
To do this, I create a new private Github project, open a new terminal in the folder that contains our HTML file, and follow the steps shown on Github to upload it.
As soon as the page is uploaded to Github, we can head over to Vercel and import the project. The website becomes immediately available on a free Vercel subdomain. If we want, we can then add a custom domain by following the steps shown by Vercel. There really is just one step: add one new DNS record to the domain and they’ll handle all the rest.
That’s it.
If you build something using this approach, I’d love to hear from you!
PS: If you're interested in following my journey, sign up below: